![图片[1]-#干货教程 # 简单几步骤,腾讯COS挂载到linux | centos6/7/8 |cosfs: command not found-月宅酱的博客](https://cos.moejpg.com/yzj/wp-content/uploads//2021/10/20211119141434_图片来自萌图社免费图床_moejpg_com_87.png)
挂载成功如图
![图片[2]-#干货教程 # 简单几步骤,腾讯COS挂载到linux | centos6/7/8 |cosfs: command not found-月宅酱的博客](https://cos.moejpg.com/yzj/wp-content/uploads//2021/10/20211027042315_图片来自咯哩壁纸网_lolibz_com_73.png)
教程一
安装依赖,以免出错
sudo yum install automake gcc-c++ git libcurl-devel libxml2-devel fuse-devel make openssl-devel fuse教程二
下载cosfs(以下命令任选一)
git clone https://github.com/tencentyun/cosfs /usr/cosfs
get clone https://github.com/tencentyun/cosfs /usr/cosfs
教程三
进行编译,以下命令依次运行
cd /usr/cosfs
./autogen.sh
./configure
make
sudo make install
教程四
填入腾讯key秘钥与桶名(注意分隔符 :
秘钥获取地址:https://console.cloud.tencent.com/cam/capi
echo 存储桶名称:SecretId名字:SecretKey内容 > /etc/passwd-cosfs
完整例子:echo cos-123456789:AKIDOsLhw3MlQ:eR6ZHtLgqoG > /etc/passwd-cosfs
赋予权限
chmod 640 /etc/passwd-cosfs设置需要挂载的路径与你的外链域名
cosfs cos-123456789 /www/wwwroot/COS -ourl=https://cos-123456789.cos.ap-hongkong.myqcloud.com -odbglevel=info -onoxattr -oallow_other

说明:cosfs 存储桶名称 /挂载路径/路径 -ourl=https://外链域名 -odbglevel=info -onoxattr -oallow_other
添加开机自动挂载,在etc文件夹下搜索fstab并在最后一行加入以下内容,或使用vi命令/etc/fstab进行编辑加入
cosfs#cos-123456789 /www/wwwroot/COS fuse _netdev,allow_other,url=https://cos-123456789.cos.ap-hongkong.myqcloud.com,dbglevel=info

说明:cosfs#存储桶名字 /挂载的路径/路径 fuse _netdev,allow_other,url=https://挂载的外链域名,dbglevel=info
卸载
umount -l /www/wwwroot/COS
说明:umount -l /挂载路径/路径
最后
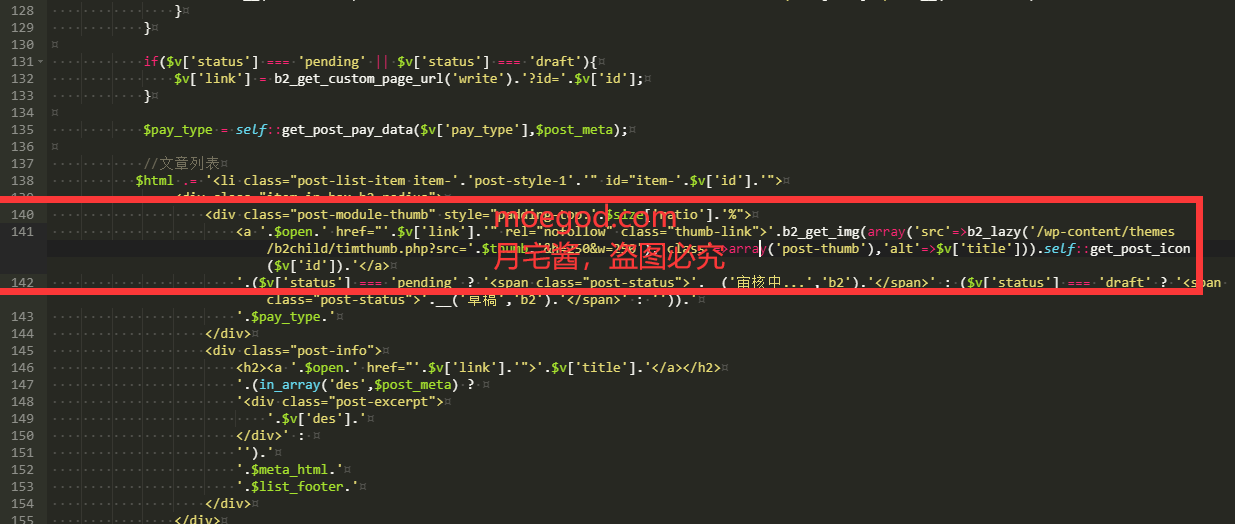
以上教程到此为止。如果你使用的宝塔,可以直接搜索COS,安装cosfs,进行挂载,如果挂载弹出错误cosfs: command not found,可以重复教程四的动作来解决该错误。
![图片[3]-#干货教程 # 简单几步骤,腾讯COS挂载到linux | centos6/7/8 |cosfs: command not found-月宅酱的博客](https://cos.moejpg.com/yzj/wp-content/uploads//2021/10/20211027045229_图片来自咯哩壁纸网_lolibz_com_87.png)
© 版权声明
文章版权归作者所有,未经允许请勿转载。
THE END


![[资源]万华镜4汉化版下载 – 百度云盘-月宅酱的博客](https://cos.moejpg.com/yzj/wp-content/uploads/wp-img/uploads/2017/08/ikmoe_2017-08-18_03-39-59.jpg)


暂无评论内容